
Also an apology in advance for the dark pictures. The season of the dark lord has arrived and sewing in daylight is very limited!

So here is what you need:
- exterior fabrics: 1/2 yard plus 2 FQ (or scraps) - Cut one back panel, and save the rest to piece the front panel.
- lining fabric: 1/2 yard - cut two stocking panels (front and back)
- batting: one piece 15×20″ (two if you want to quilt that back panel)
- ribbon for hanging loop: one piece, 6″ long
- Go to Imagine Gnats for her free pattern printable PDF
First let’s make the QAYG Panel for the front of the stocking (you could make one for the back too!). From your Fat Quarters cut strips of fabric in random widths – you can totally get creative here. I kept my strips between 1 ½ and 3 inches.
At this point I like to lie out my strips on the batting to get a sense of the layout.
Take your piece of batting and starting in the middle, quilt one fabric strip, right side up, to the piece of batting. No need to worry about having any backing on this panel (quilt sandwich) since the stocking will be lined in a later step.


Once you have your first strip quilted down you can add your next strip. Align its edges with the first strip, right sides together. Make a quarter inch seam, and then flip the new piece over.


No need to iron, just finger press down and quilt that strip. Continue adding strips to the piece of bathing. You will end up with a quilted panel like this


At this point you also want to add your ribbon so that you can hang your stockings later. Sandwich your ribbon between the front and back before you sew them together.

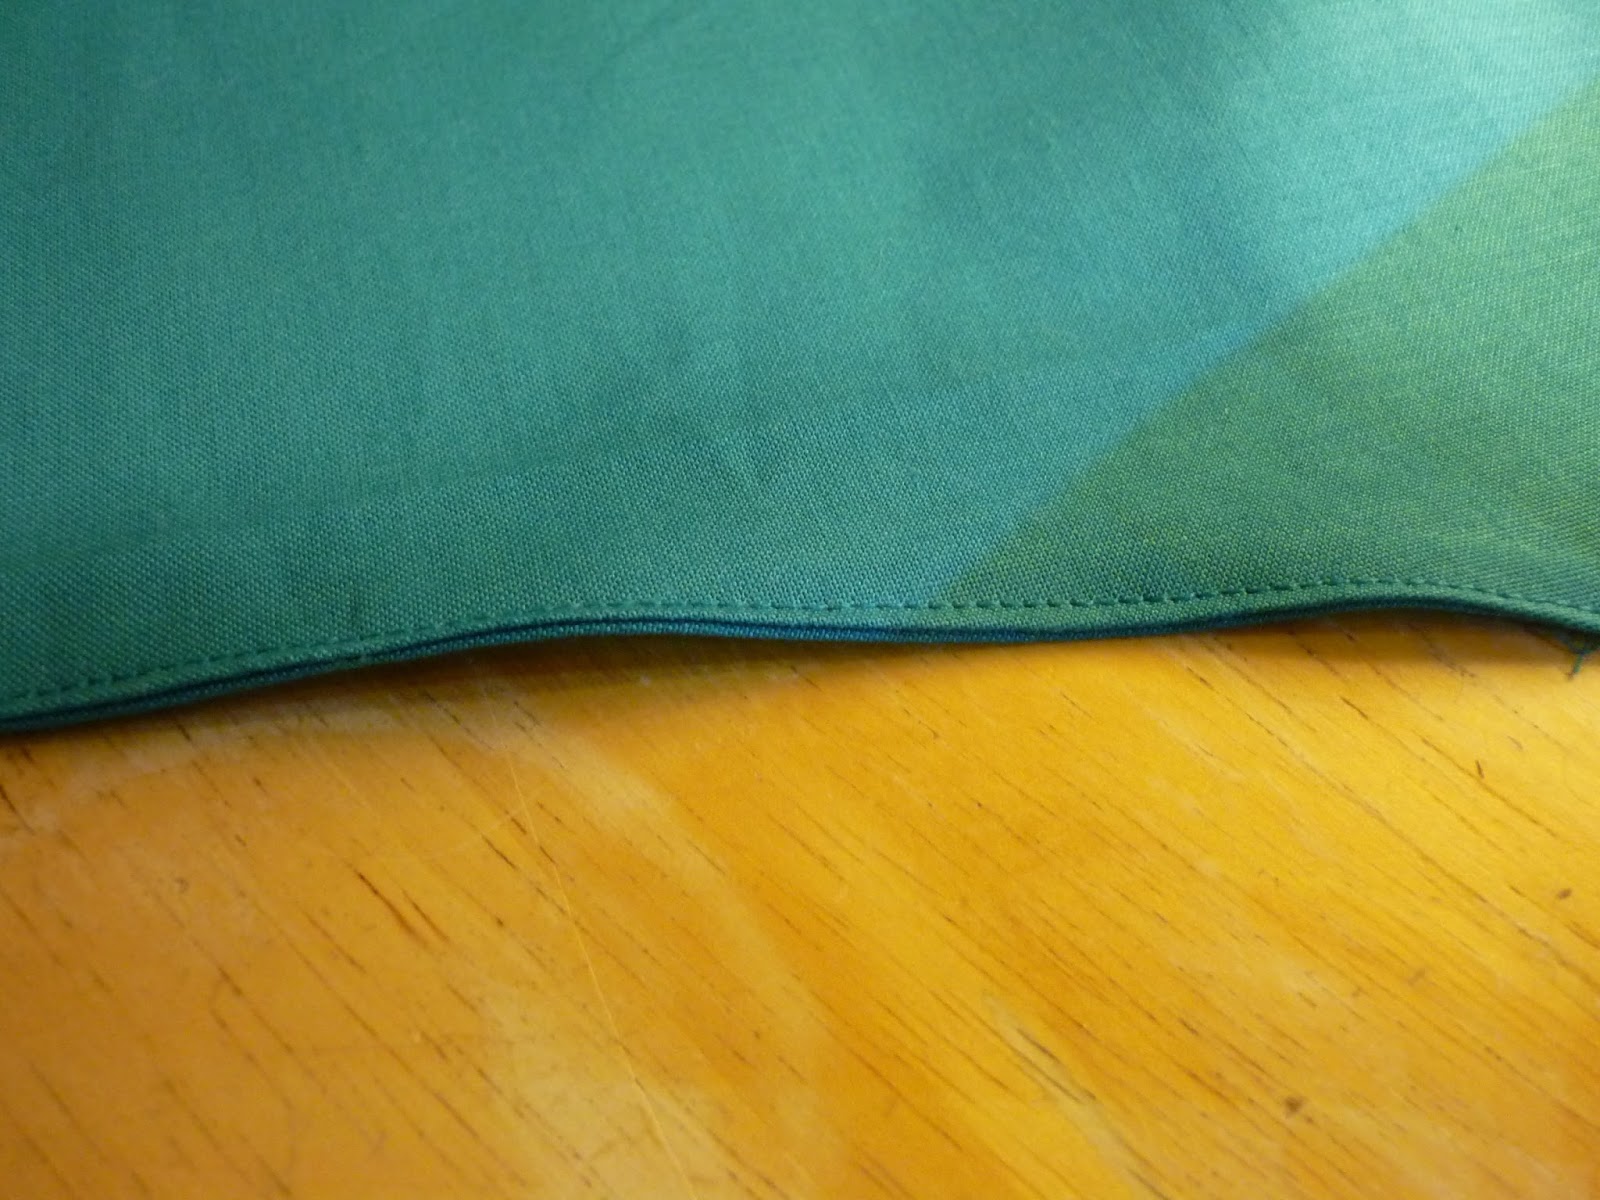
With right sides together sew the front and back stocking pieces together leaving the top edge open. Trim your seam making sure to clip into the seam allowance along the inside curves so it will lie well when turned.

Turn right side out and press flat.

With right sides together sew the 2 lining pieces together leaving the top edge open and a 3″ gap along the bottom straight edge.

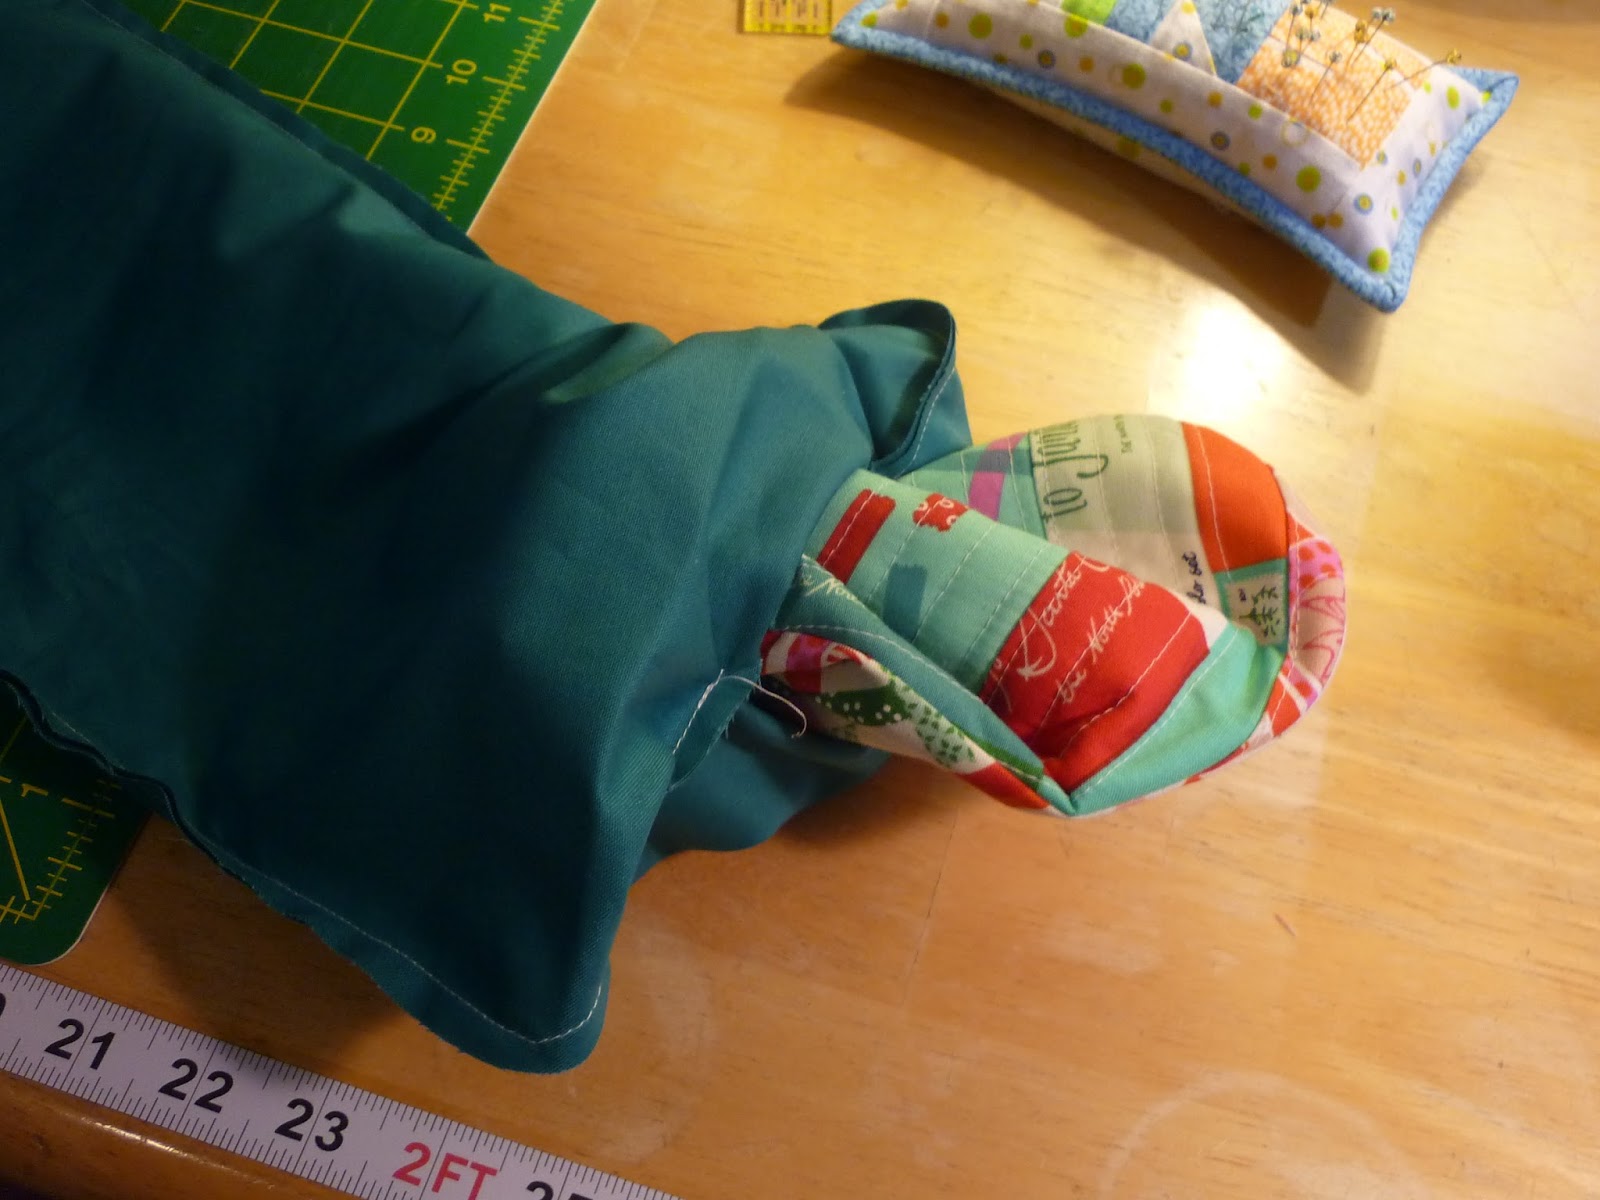
Slide the stocking lining over everything with right sides together and sew around the entire top edge.


Turn the stocking right side out through the gap you left in the lining and give the whole thing a press again.

Before you tuck the lining down into the sock, you need to close the gap in the bottom. Tuck the raw edges of the lining inside and sew the gap shut. I used my machine to top stitch it closed.
Tuck the lining inside the stocking and press flat, then again top stitch all around the top.


Et Voila! A QAYG Stocking!

So while I was making this tutorial I was actually making four stockings at one time (custom order!) so I probably should not do that next time as backing fabrics etc changed in the pics - anyone else notice that ? :)
Anywho, they turned out quite nice and I hope you found this tutorial helpful. Any feedback? Please let me know, I love it!

Since this was a big finish for me I am linking up with TGIFF! at Quilt Matters, Finish it up Friday @ Crazy Mom Quilts and Whoomp! There it is @ A Quilted Passion!
See you soon
Adrienne
Very cute.... thanks for the tutorial... I need to make a couple of stockings and this would be perfect!
ReplyDeletePerfect timing, our guild is making Xmas stocking for the seniors residents, I am going to give this a go! Tks for sharing
ReplyDeleteC&S Tinsel, I heart you!!! These are so cute and quick!
ReplyDeleteDoes your machine get all fuzzied up when you sew with the batting on the bottom? Did you use a walking foot? What do you think about trying FMQ with nothing under the batting?
I think I would make the top longer and do a cuff.
Bummed I couldn't make the MMQG meeting last night. Thanks for the tutorial!!
So gorgeous.Thanks for the tutorial!
ReplyDeleteWouldn't it to be fab if we could use OttLites to light our entire studios? Then the Dark Lord would vanquished. Thanks for the cool tut!
ReplyDeleteYou are the QAL Queen! Are these the same stockings you had on display at the Fibre Arts Festival quilt show? They are darling! You've done up a great, must try tutorial. I'm between projects at the moment, and since I'm getting ready to leave for the winter, small finishes like this are perfect for me. Thanks! I love your PiNS pincushion! I need to make up a few more of those, too, for my gift giving pleasure. XO
ReplyDeleteLove the stockings. QAYG is great for this type of project.
ReplyDeleteSweet! Love those stockings, Adrienne. Thanks for the tutorial too -- stockings have been on my bucket list for quite some time!
ReplyDeleteVery cute stockings, nice tutorial, thanks!
ReplyDeleteThat looks really fun and the outcome is adorable Adrienne!
ReplyDeleteWHOOMP There IT Is! Very cute Adrienne. A small suggestion...add the ribbon angled up toward the opening, this will allow for a smoother hang. Thanks for sharing this tute and for linking up.
ReplyDeleteYou're all set then, gifts are streaming across the Canadian snow line any week now! Well done!
ReplyDeleteThanks for the tutorial and the demo, Adrienne, Those are seriously cute!
ReplyDeleteI have been looking at stocking tutorials for several days, and this is the only one that makes sense to me. Thank you so much!
ReplyDeleteGretta Hewson
Why not see Wall NJ maid service visit site