Thursday, 22 August 2013

100 Quilts for Kids

I am very excited to share with you that I am going to be participating in the Swim Bike Quilt 100 Quilts For Kids (press the button, it's magic!)

 
Lately I have been thinking that I need to share my quilty love outside of my house / family / friends. When I saw 100 Quilts for Kids popping up in the Blogging universe, I knew that now was the time. The deadline is September 30th so I have time yet to get a quilt (or maybe two!) in.
 
I am not sure what I am going to make yet, but I have decided that my finished quilt(s) will be donated to Phoenix.

 
From their website "Phoenix is a non-profit, community based organization located in Halifax. We offer at-risk and homeless youth (ages 12 – 24) the opportunity to break the cycle of homelessness and find a better path. Our services are free of charge to any youth who reaches out to us – we don’t require adult permission. Phoenix prides itself on being 100% non-judgemental and welcomes people from all cultures and walks of life. We offer a wide range of programs and services including: prevention, crisis assistance, emergency and long-term shelter, employment and learning assistance, counselling, parent support, food, laundry, medical support and more."
 
I think youth involved with Phoenix would love a quilt to cuddle in as they brave their new paths. I have a big weekend of sewing ahead!
 
Do you quilt for Charity? Would love to hear all about it.
Adrienne

Monday, 19 August 2013

Quilting As I Go: Part Deux

Couple of weeks ago I started showing you how I was using the QAYG process on the Crooked Cabins quilt (here is the link to that post). In that post I got as far as step one, quilting the blocks. I promised to show you the next steps, so here we are.

First you start with your delicious pile of quilted blocks.


Following your top layout, start sewing your quilted blocks together. Right sides together and sew with a 1/2" seam allowance.


This of course is more than our regular 1/4", but you need a little extra room so that you can iron the seams flat open to help reduce bulk.  

Trimming the ends of each seam is also important too help cut down on bulk as you join multiple blocks together.


Continue to join all of your blocks until you your top is complete. You wind up with a fully quilted quilt top with a back that looks like this.
Following your favorite technique, baste your quilted top to the backing fabric. I typically pin baste, but on this particular night I was feeling all frisky and pulled out the spray baste. Wild I know. But it worked!


If you do pin baste you should think ahead about where the next quilting lines will fall because the next step is to attach the top to the back by quilting in the ditch between the quilted blocks.


So not all of your quilting will shown on the back, but you will see the block outlines.


Once your quilting in the ditch is all done, square up your top and bind, again using your fave method. And your quilt is done!! Of course a nice picture of my finished quilt would be good at this point right? Sure would, and it has actually been off on location for it's photo shoot. But this quilt is going in the mail to it's new owner, so want to save the reveal until it is in their hot little hands. UPDATE - The quilt has landed, so you can click here to see the finished quilt :)

So, that is QYAG. I really liked the process and for sure will be doing it again. A couple of things I learned trying this process:

1. If you are following a pattern, make sure to take into account the 1/2" seam allowance you are going to need to sew your finished blocks together. I did not do this. Overall it did not affect the pattern, but the finished size quilt ended up being a mite smaller :)


2. This method of quilting is great for a "plain even-sized blocks sewn together in a column" quilt top. if it is anything else, you need to do some pre-planning.

Take my project as an example, I had various sized log cabins and negative space in the pattern. The Log cabins blocks were fine, I quilted those by echoing the shape of the cabins in the quilting. But then when I got to the negative space I had to treat each area of the negative space like a stand alone block as well. In terms of how to quilt those individual pieces, this took some thought. At first I was all like "I will quilt log cabins in the white spaces to echo the log cabin blocks". Sure, this is a good idea, but a lot of the pieces were triangles, and quilting squares in them ended up looking ridiculous. So after some quality time with my seam ripper. I decided to just mirror each shape with the quilting.


I cannot say that I was 100% happy with my solution, but after it was all washed and fluffy, I quite like the result.

3. Light backing fabric is not the friend of QYAG. Why you ask ? The seams show through!


You see the issue I ran into after I had pieced a lovely back? After a quick consult with a quilty friend who quashed my "But it adds more texture to the back", I found a darker colored fabric, re basted, and quilted in the ditch. The seams are now hidden, and all you see is the stitch in the ditch quilting lines.

So, have you tried this method, or is it on your "to try" list? Would love to hear anything you have learned about this process.

Stay tuned for the finished quilt :)
Adrienne

Linking up this week at

Wednesday, 14 August 2013

The Library Project

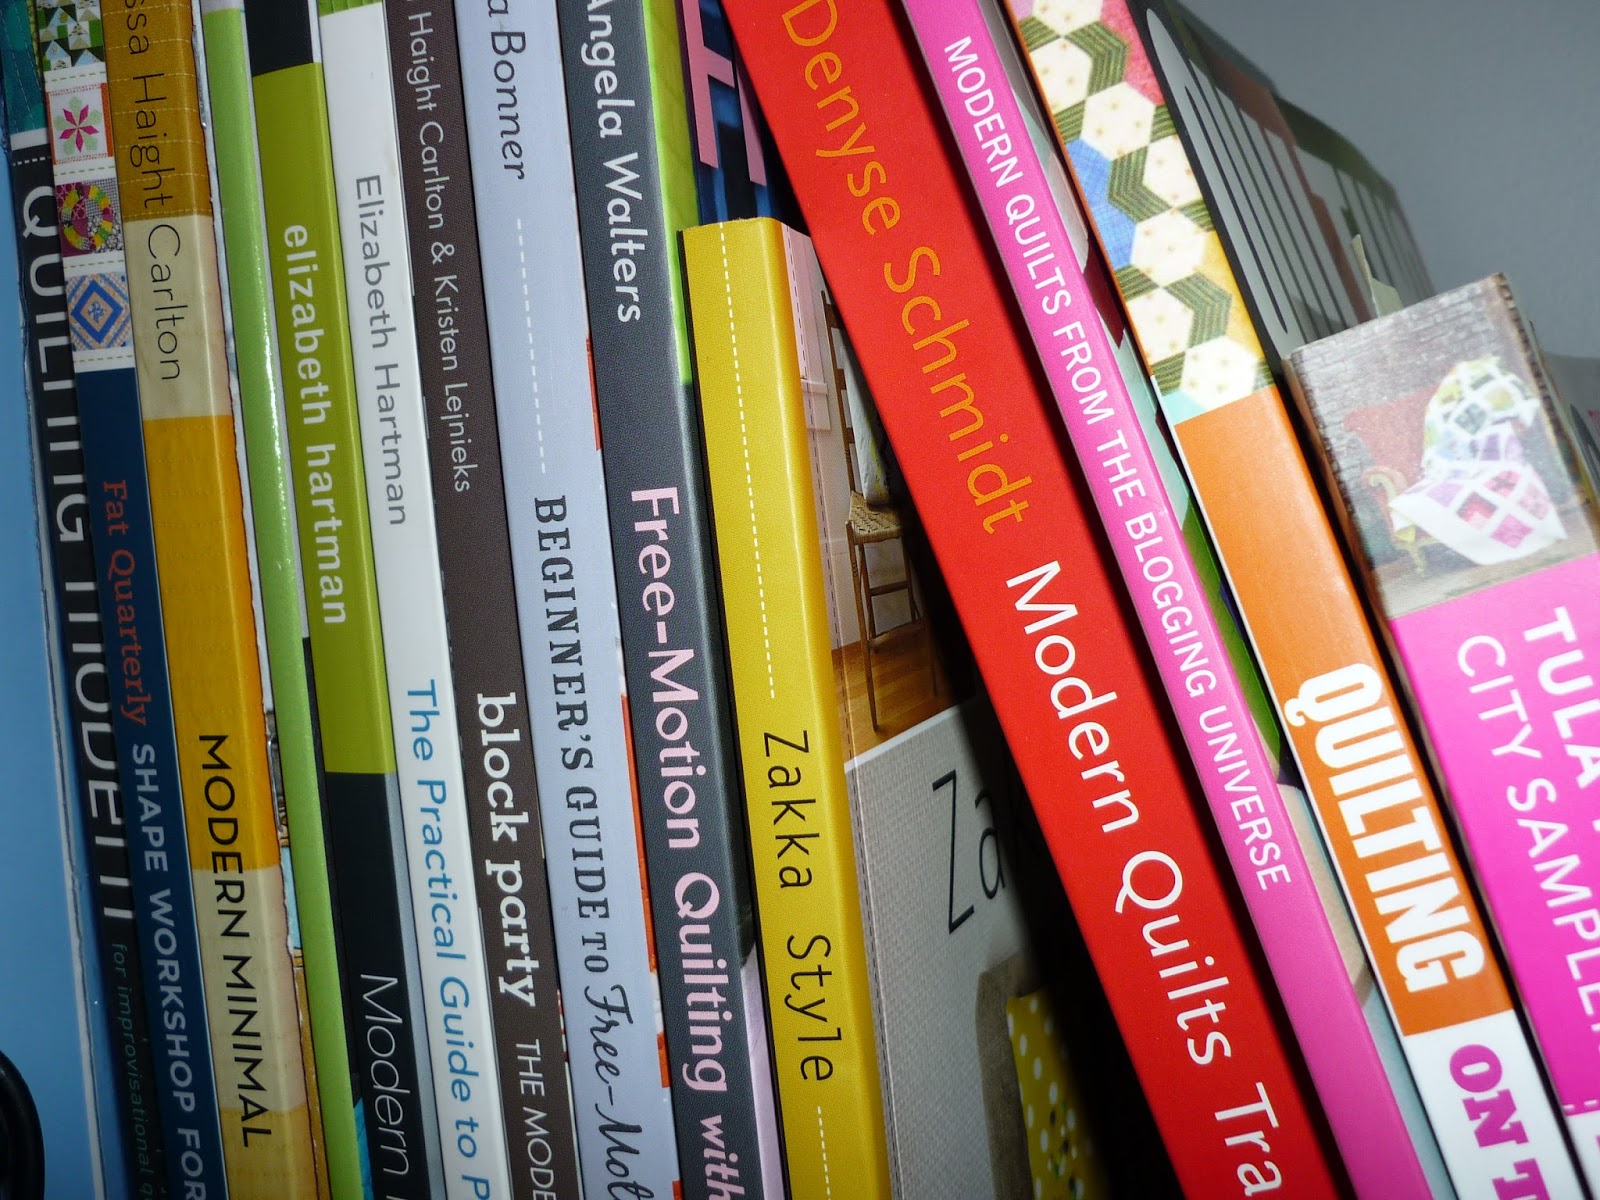
I've had an idea. I can hear you now "oh look she had an idea, she's so special". Seriously folks, I think I have a very good idea. You see, along with my addiction to fabric, I have another problem - with books. Fiction, magazines, journals you name it, if it involves paper and the written word (or words that need to be written), I want it. This means I have lots of books. Of course Quilting Books are way far up on my want / have list since they feed into the fabric addiction so nicely.


So, this seems pretty straight forward: passion for quilting + fabric + books = Quilting Book Library. One small problem. I buy the books, love them, paw over them, but rarely make anything out of them!! Why you ask? Are these substandard books? Do the patterns in them suck? No! Quite the opposite. These are amazing works of art that I know the authors have labored hard over and I love every inch of them. I just never seem to get there. There is always pinterest inspiration, or a Bee, or a BoM, or a commission (no complaints on that one folks!) that come first. Another year passes, maybe you buy one or two more books, and yet still...nothing made from the books.


So, here is my idea - The Library Project.
Over the next year I am going to chose six books from my library and make at least one project from each book. This is a lofty goal, considering I have a  fairly hectic day-job. But I feel like these books of mine need some love! As do their authors. I am not going to set any time frames for each project, and maybe six will be too much, but at least I have a plan - where my idea becomes reality!

All fine and good, BUT, what books am I going to pick for this little project, and what patterns to make? Well, I have this


A scrap pile that I would like to get under control. So the obvious first choice is this book:


and while there are so many delicious options in here, I am going to try this one: Volume


First step of course is some fun sorting!


You are asking  now "what other five books are you going to pick?" Darned good question. The short answer is, I don't know yet! But it is a really good excuse to pull all my books out and drool look through them and make my selection.

So, the question is, do you have similar addictions? I'd love to hear about them...

Thank you for stopping by, be sure to come back to see my other book and pattern choices. I can't wait to see what I pick :)
Adrienne

Tuesday, 6 August 2013

Quilting As I Go

Crooked cabins is taking shape. I finished all the log cabin blocks this past week and have also finished all of the Quilt as You Going (QAYG) on them! Using this tutorial, here is how it works

Start by cutting a piece of batting a little bit larger than the square that you want to quilt

Lay the block on top and start quilting! I have seen some people baste the two pieces together with spray baste before quilting, but I didn't find I needed to do this. Even with a 16" block, things stuck together naturally during the quilting process.

Exciting days for me, this is the very first time using Aurifil! I must admit that it is pretty slick, I feel a new addiction growing


Here are some shots of the quilting that I did on the blocks. Basically you can do whatever you want. The sky is the limit, since you can move around the block with ease. I basically echoed the squares in the log cabins. A friend of mine told me she tried this method with free motion quilting but the batting stuck quite a bit so it was not great, but I think anything straight line is fine, I did not have any issues doing my squares with the walking foot on.


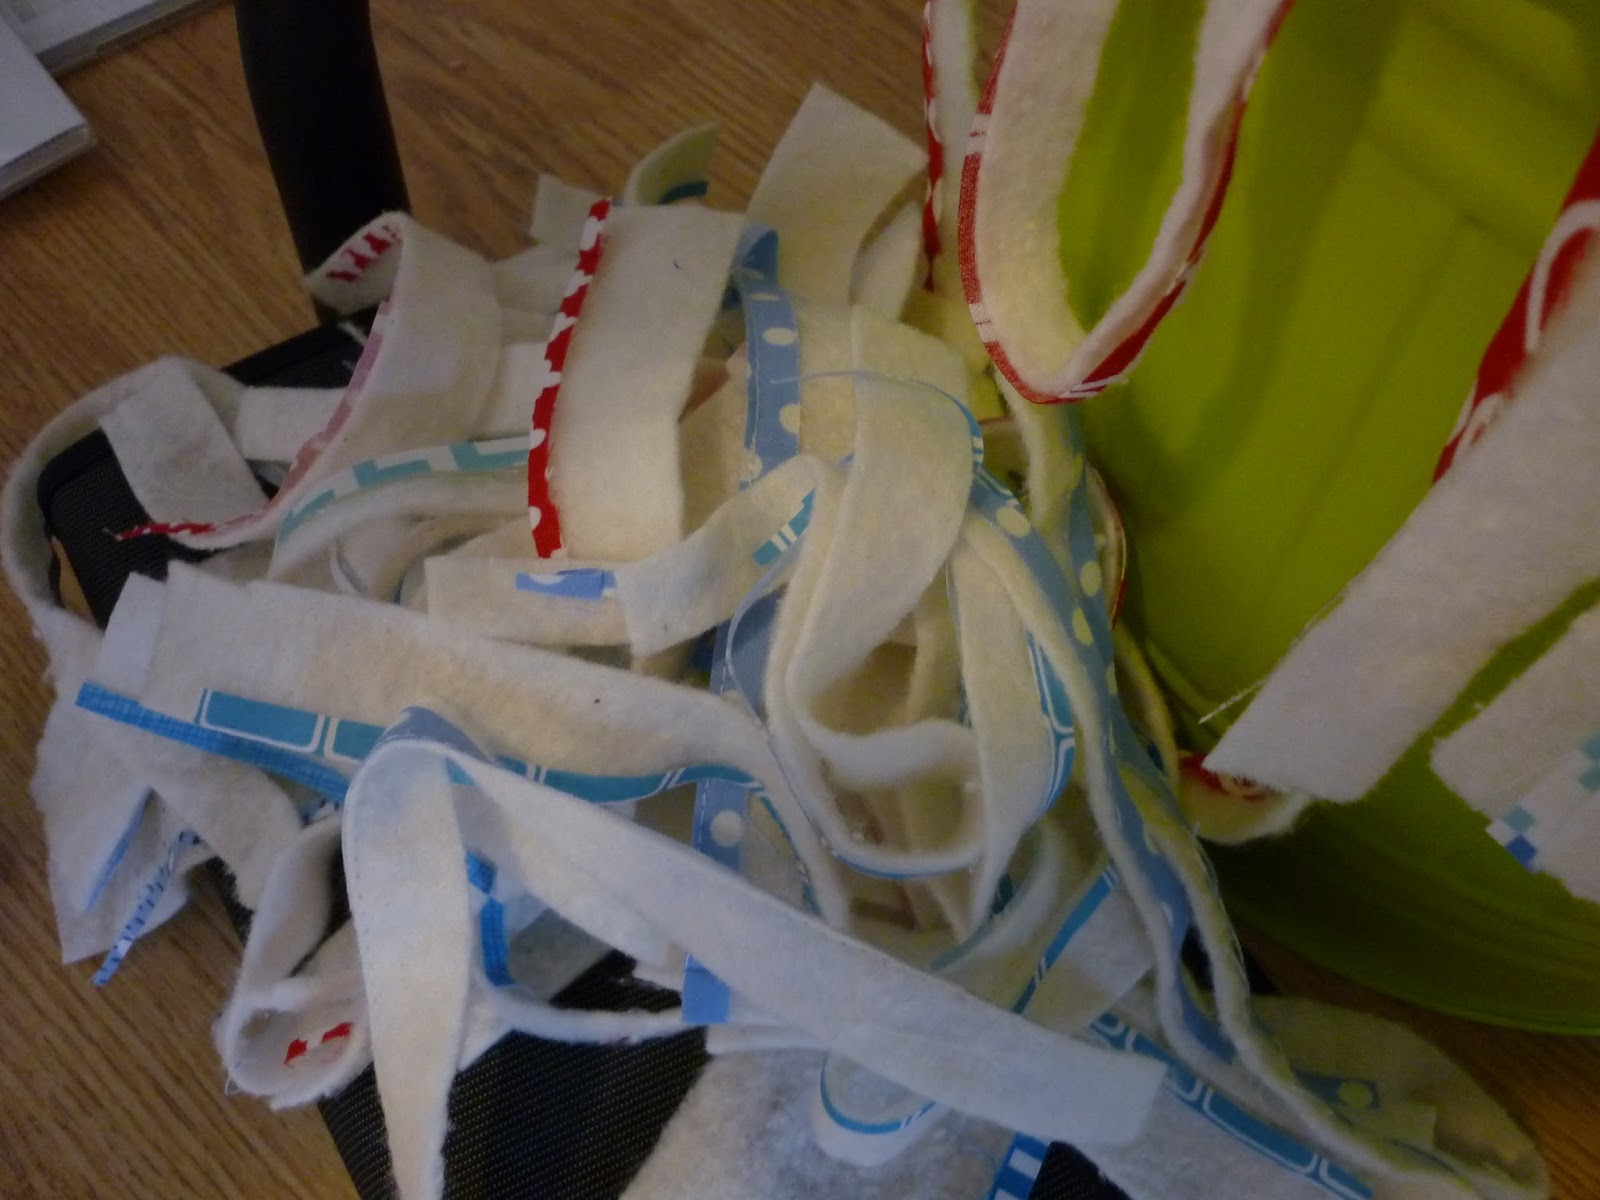
 Next step once you are finished with your quilting is to trim the batting from your finished squares.


leftovers = fill for a kitty bed
 This leaves you with a delicious stack of quilted blocks, they even look cool from the back


So, that is part one. Next will be to put them together. I have actually started this but am going to save for my next post because, well, I am tired. So I will leave you with the finished layout for this quilt.


See you soon
Adrienne


Linking up at

Monday, 5 August 2013

Bees a go-go

So yeah, a year ago I joined Stash Bee, fast forward and now I am organizing two virtual bees! Not quite sure how that happened, but I am stoked about the whole thing. First there is the ModQImpovB


We are a brave group of Canadians and Americans (so basically North Americans) who are improving each month. I must say that this one is SO FAR outside of my comfort zone (I need a pattern people), but that is why I did it, to learn new things and get outside of my box. For my month I asked for completely scrappy improv, here is a peek at the blocks I have received so far (the ones on the left)


and blocks I have made for July and August


The newest Bee started like today! Global Scrap Bee

This group started as a result of the Plum and June Let's Get Acquainted Blog Hop. Some of us met on the hop and decided to keep the fun going with a Virtual Bee! We didn't quite have 12 blog hop people so we also invited a couple of fellow quilters who love a good Bee! We cater to those who are outside of the US and those in the US who don't mind some international postage! This group has some new-ish quilters and some folks who are trying their very first Bee. With members all over the world, I think we are going to have a great time.

I am first up as Queen Bee for September and am going to ask my Bee mates to make this


with this as the color inspiration

I cannot wait to see what comes out of people scraps / stashes :)

I was worried as Stash Bee started to wrap up that I would not have any more Bee work, guess I have no more worries there!

Are you Bee-ing? Would love to hear all about it!
Adrienne

Saturday, 3 August 2013

x and + Top Takes Shape

Last year I joined my very first quilt bee. There are so many "virtual" bees in the modern community, it is a great way  to meet some new people, try out some new techniques, bust your stash and get some blocks to make a quilt top!


I am in two Hives of Stash Bee and I was queen bee in April. I asked for x and + blocks from my hive mates that this morning I finished putting them all together in to a top.


I think I need to do a little adjustment on the navy so that the center pieced square is more "off-center", and then this baby goes into the quilting queue. This one is going to get the straight line treatment.

A little bit ago, I wrote a post introducing myself on the Let's Get Acquainted Bog Hop. One of the things I said about me was that I liked to only work on one project at a time. I think I need to retract that statement. These days I seem to have quite a few on the go and am enjoying it :)

Back to the machine, I here Titled Cabins calling my name.
Adrienne